
In which I cover the creation of Thor's armour, the hardest part of the build.
This follows a similar, though more complicated, method to Mjolnir (Parts 1 & 2)
More Pepakura
So once again I downloaded a pepakura template.* Then I began cutting out the hundreds of parts (there were 54 A4 pages of parts). I numbered all the edges so I knew which ones went together and laid them out on the floor:
As I laid parts out I started to form them into sections: the belt, left chest, right chest, centrepiece, left and right sides.
Finally all the parts were glued together and ready to paint but the party was almost upon me!
*Found here: http://jwieger82.deviantart.com/art/Pepakura-Thor-Chest-Armor-299319318
Bonus: Trousers
Thor has some cool pleather trousers in the film. I decided on the cheap option of pyjama bottoms a size (or two) too small with a red strip of fabric glued down the side.
Painting
I painted the six discs pure silver and painted the rest of the armour in alternating sections of black and silvery black. Sadly the silvery black doesn't really look very good. I will probably go back and drybrush that in the future like I did with Mjolnir.
After the paint was (almost) dry I had some helpers connect the back straps and my cape with a stapler.
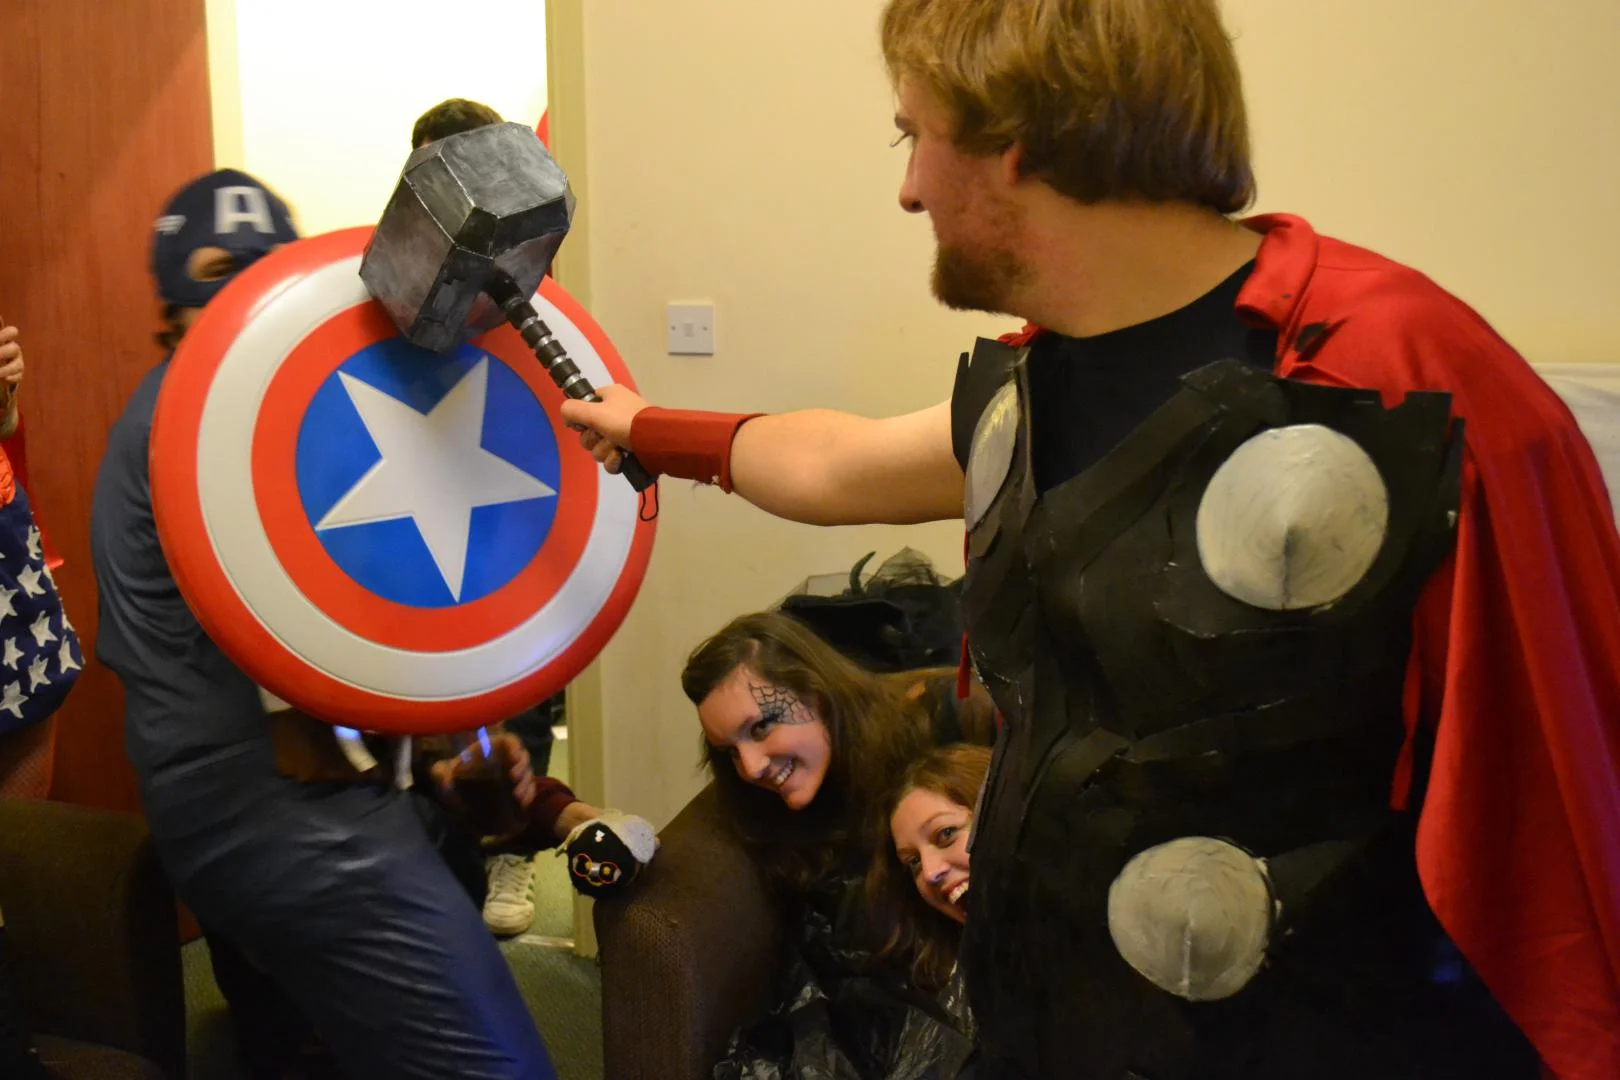
The Finished Article
Behold the costume!
Tom Out!